
Recent Restoration Work
The photographs in each group come from Corryville Restoration’s own jobs. They show restoration while it is under way rather than staged results: the source of a leak, walls cut open to the framing, drying equipment running, wet materials on their way out and new drywall going up. Once a room is painted and furnished again, little of this work can be seen, so the photographs show the part of a restoration job that the finished room hides.
The photos are grouped by the type of work: water damage cleanup and drying, mold found when drywall comes out, walls and ceilings opened for repair, and soaked materials replaced. Corryville Restoration also handles fire and smoke damage cleanup, soot removal and odor control, though none of those jobs appear among these photographs.
Photos by Type of Work
Choose a type of work to filter the photos.
Water Damage Cleanup and Drying Setups
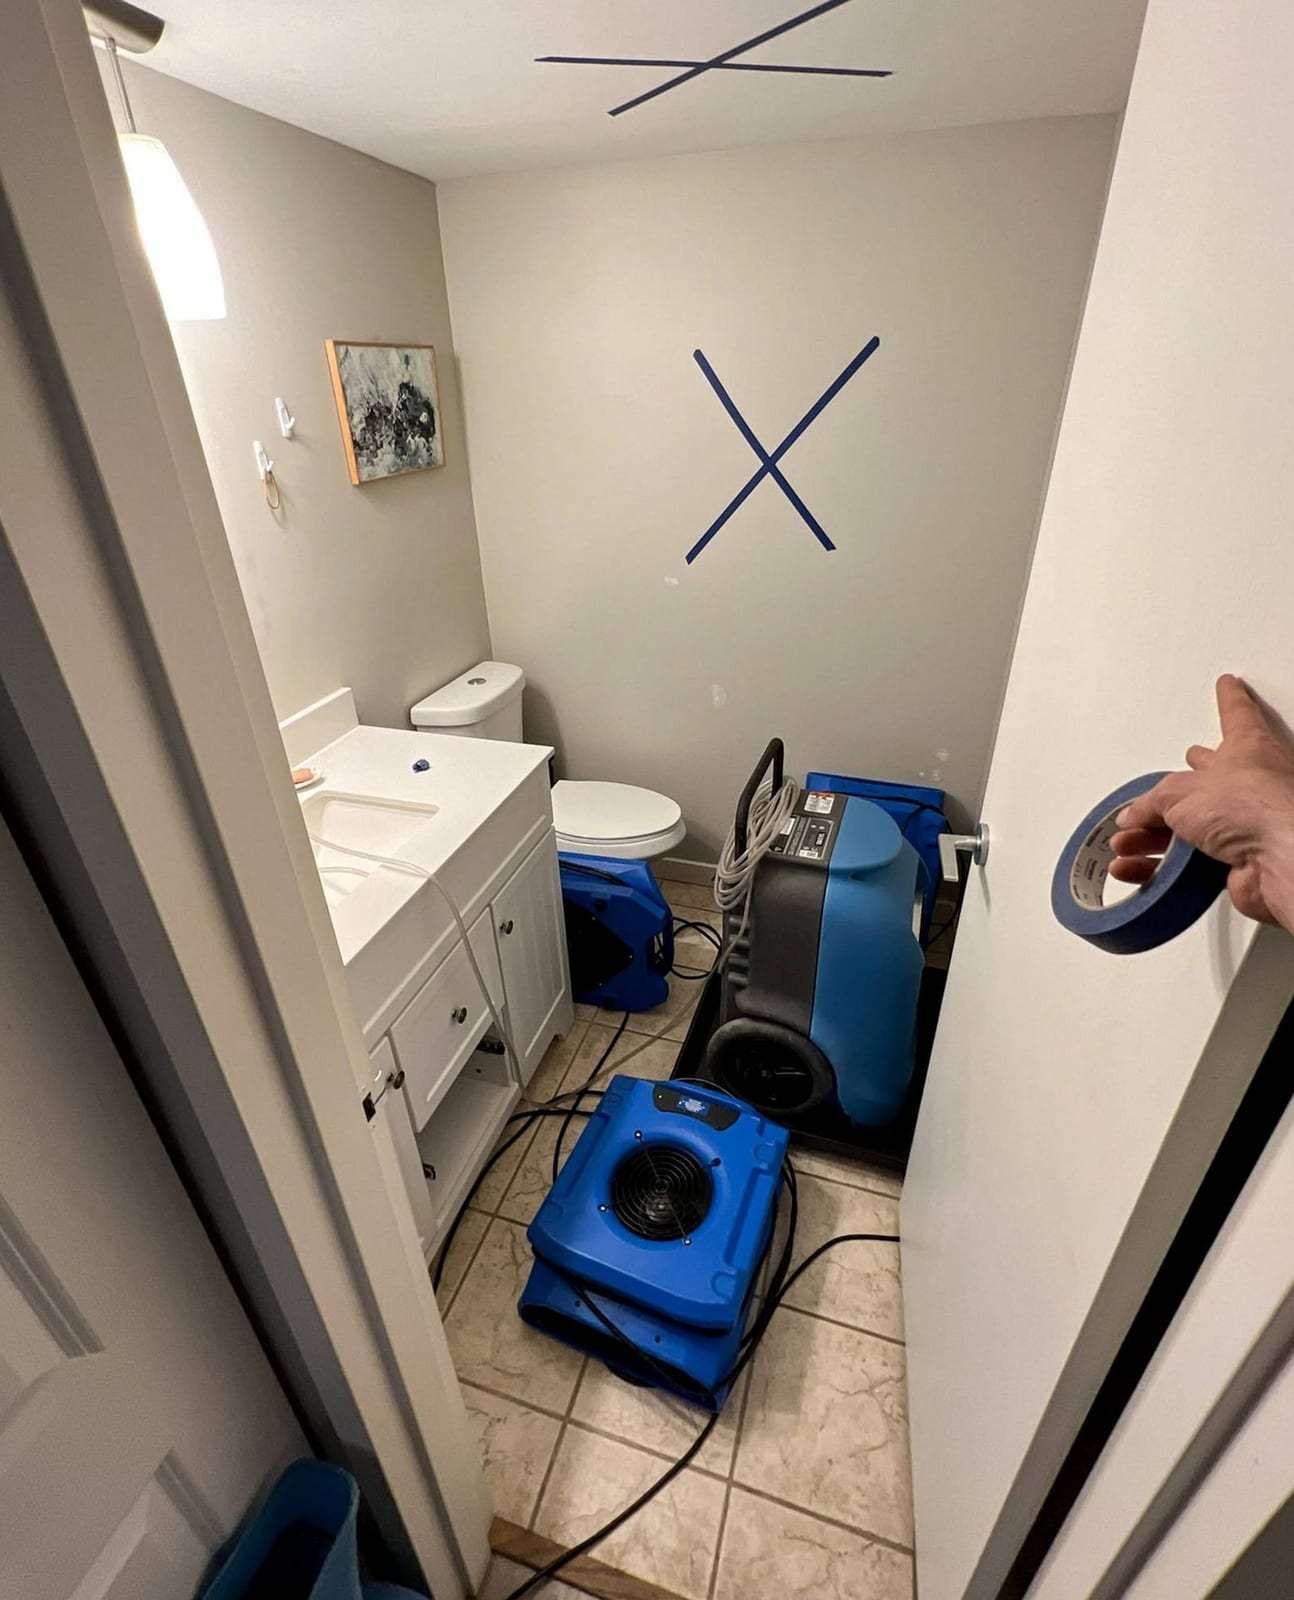
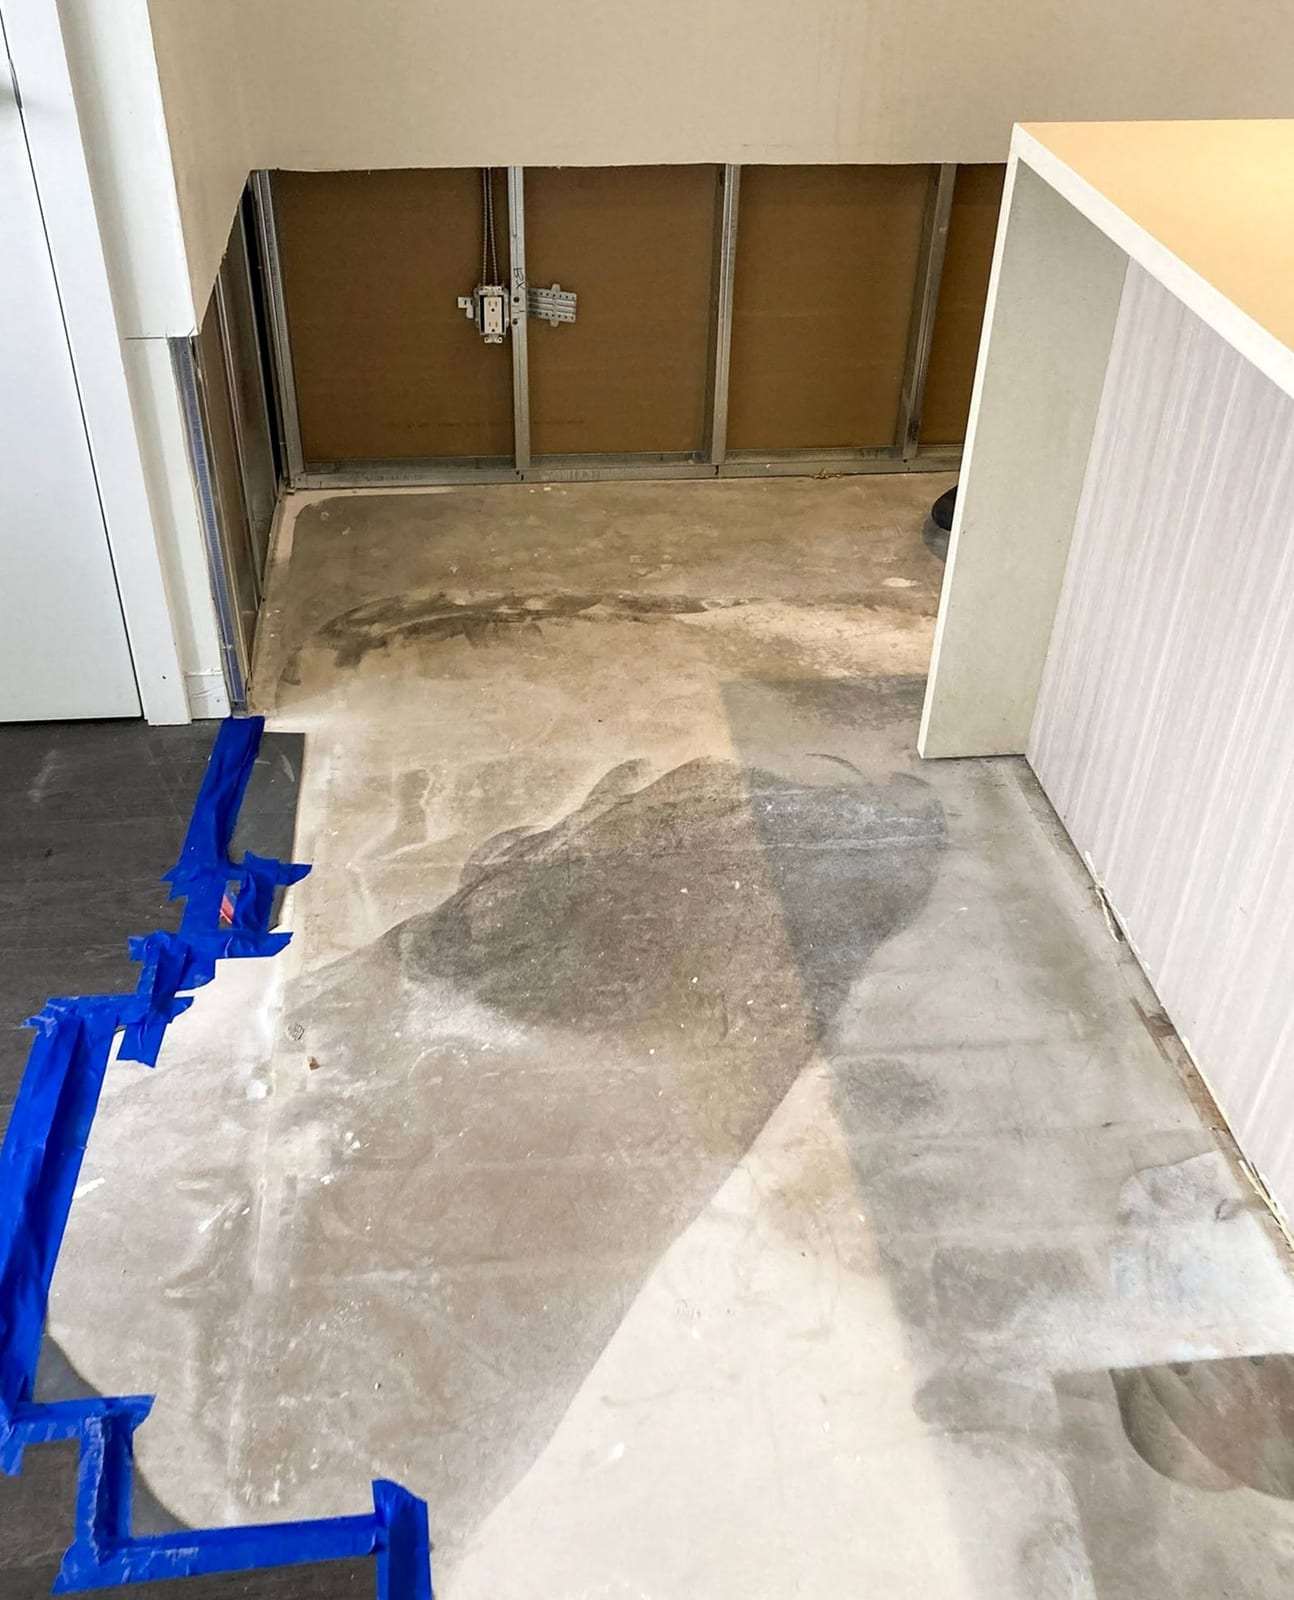
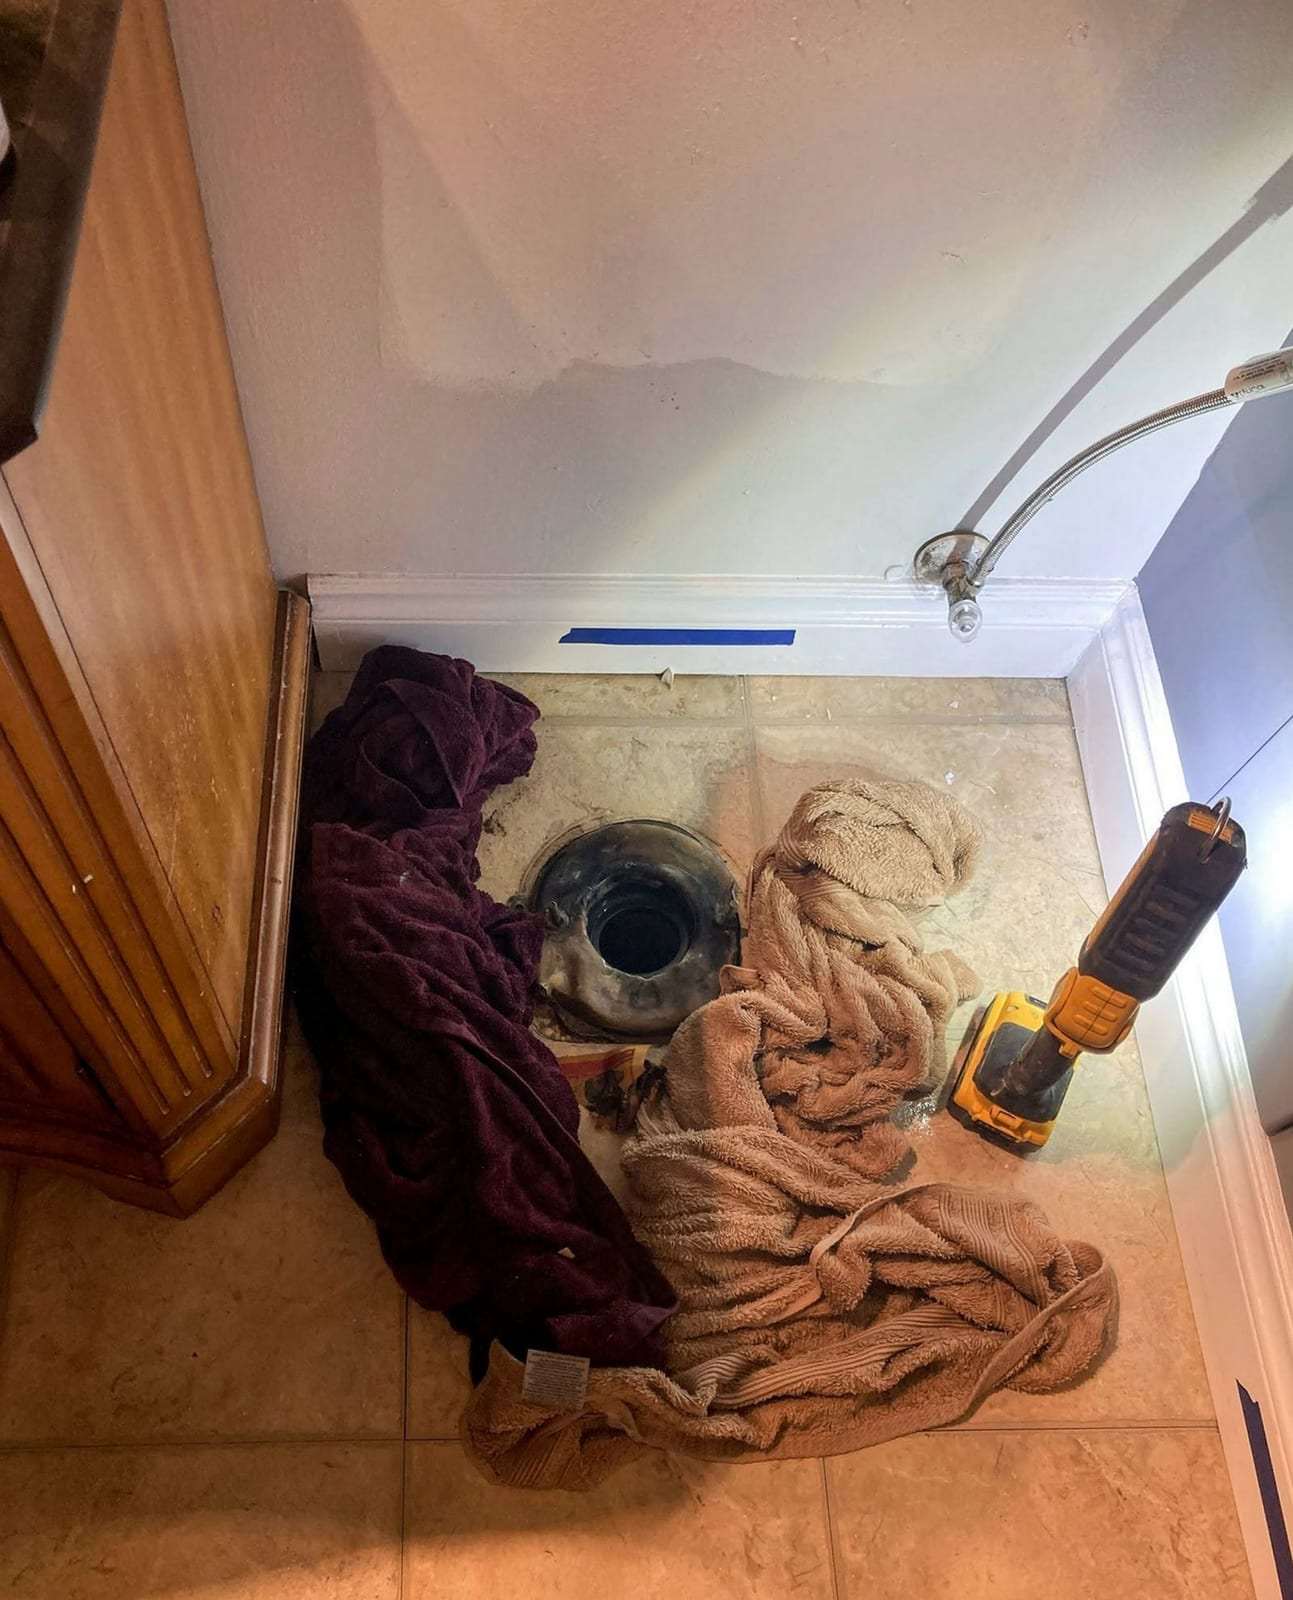
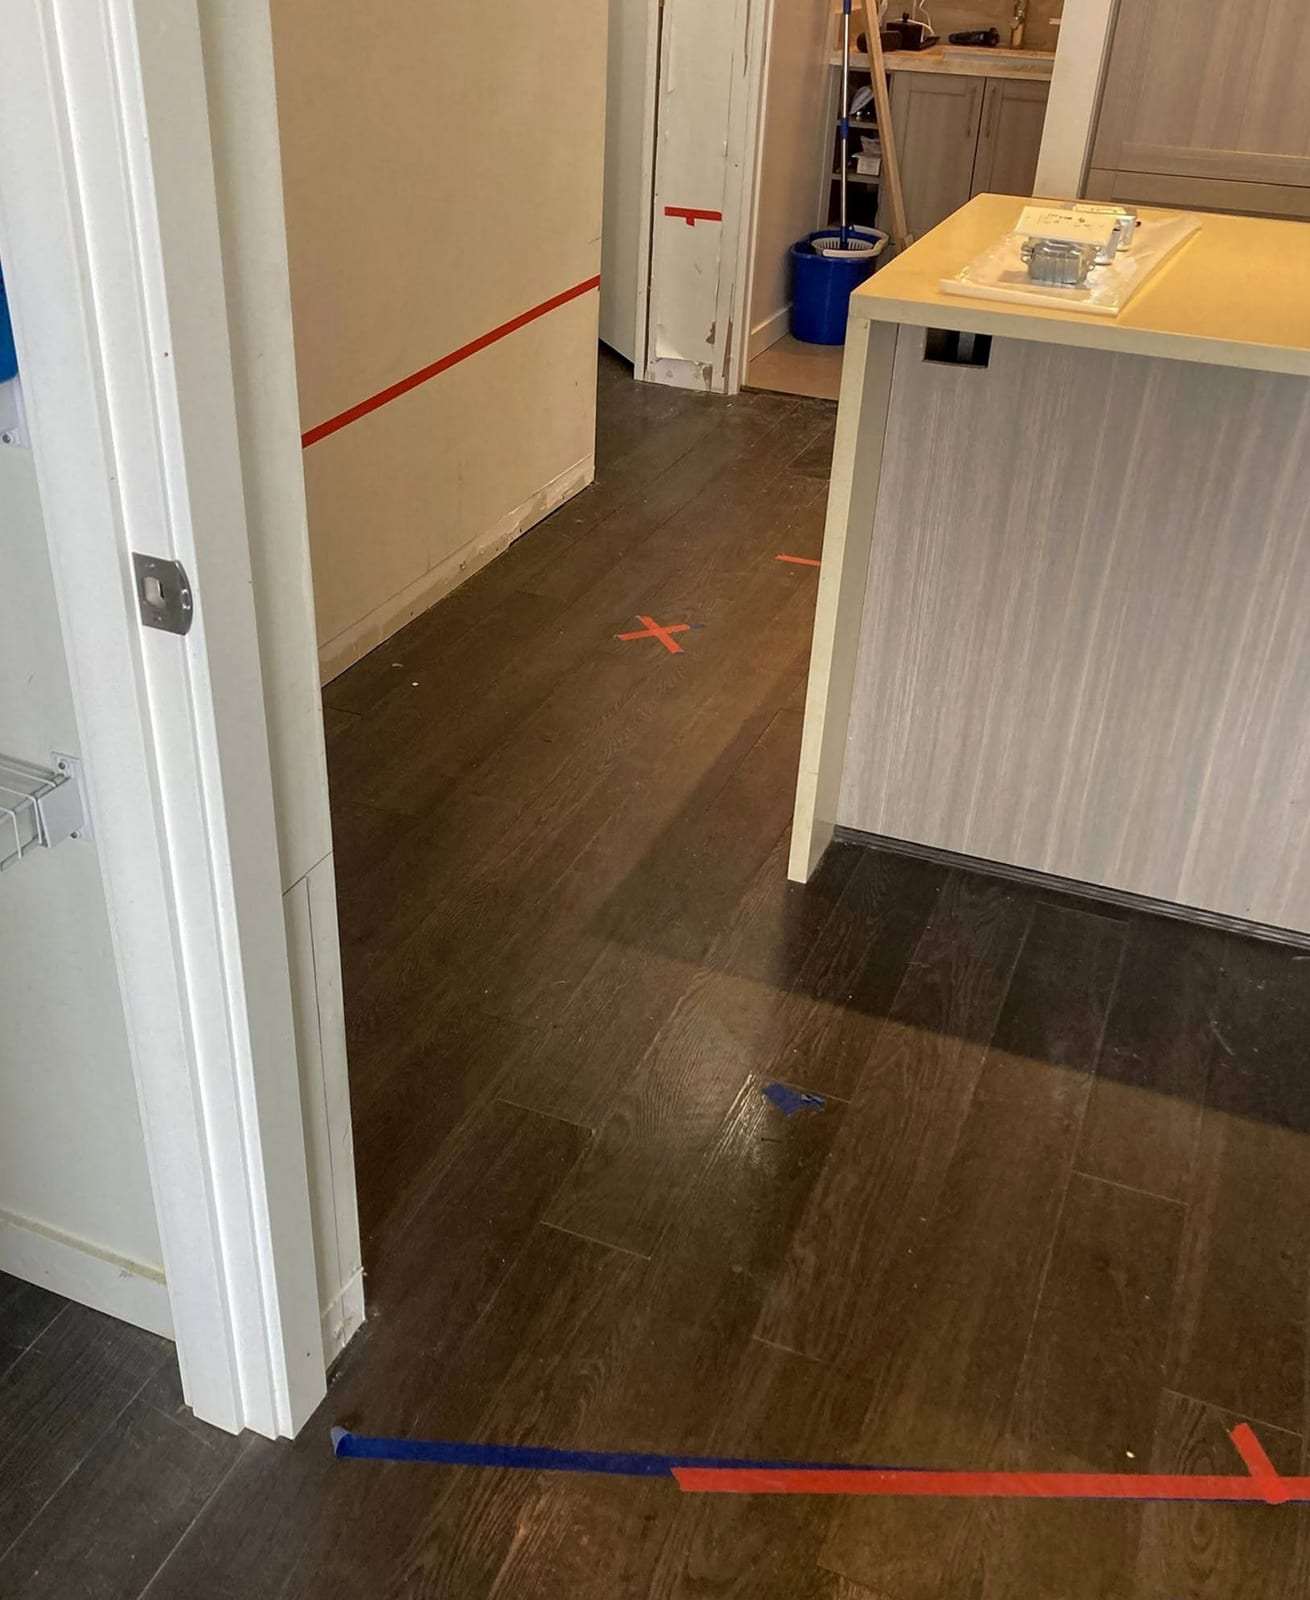
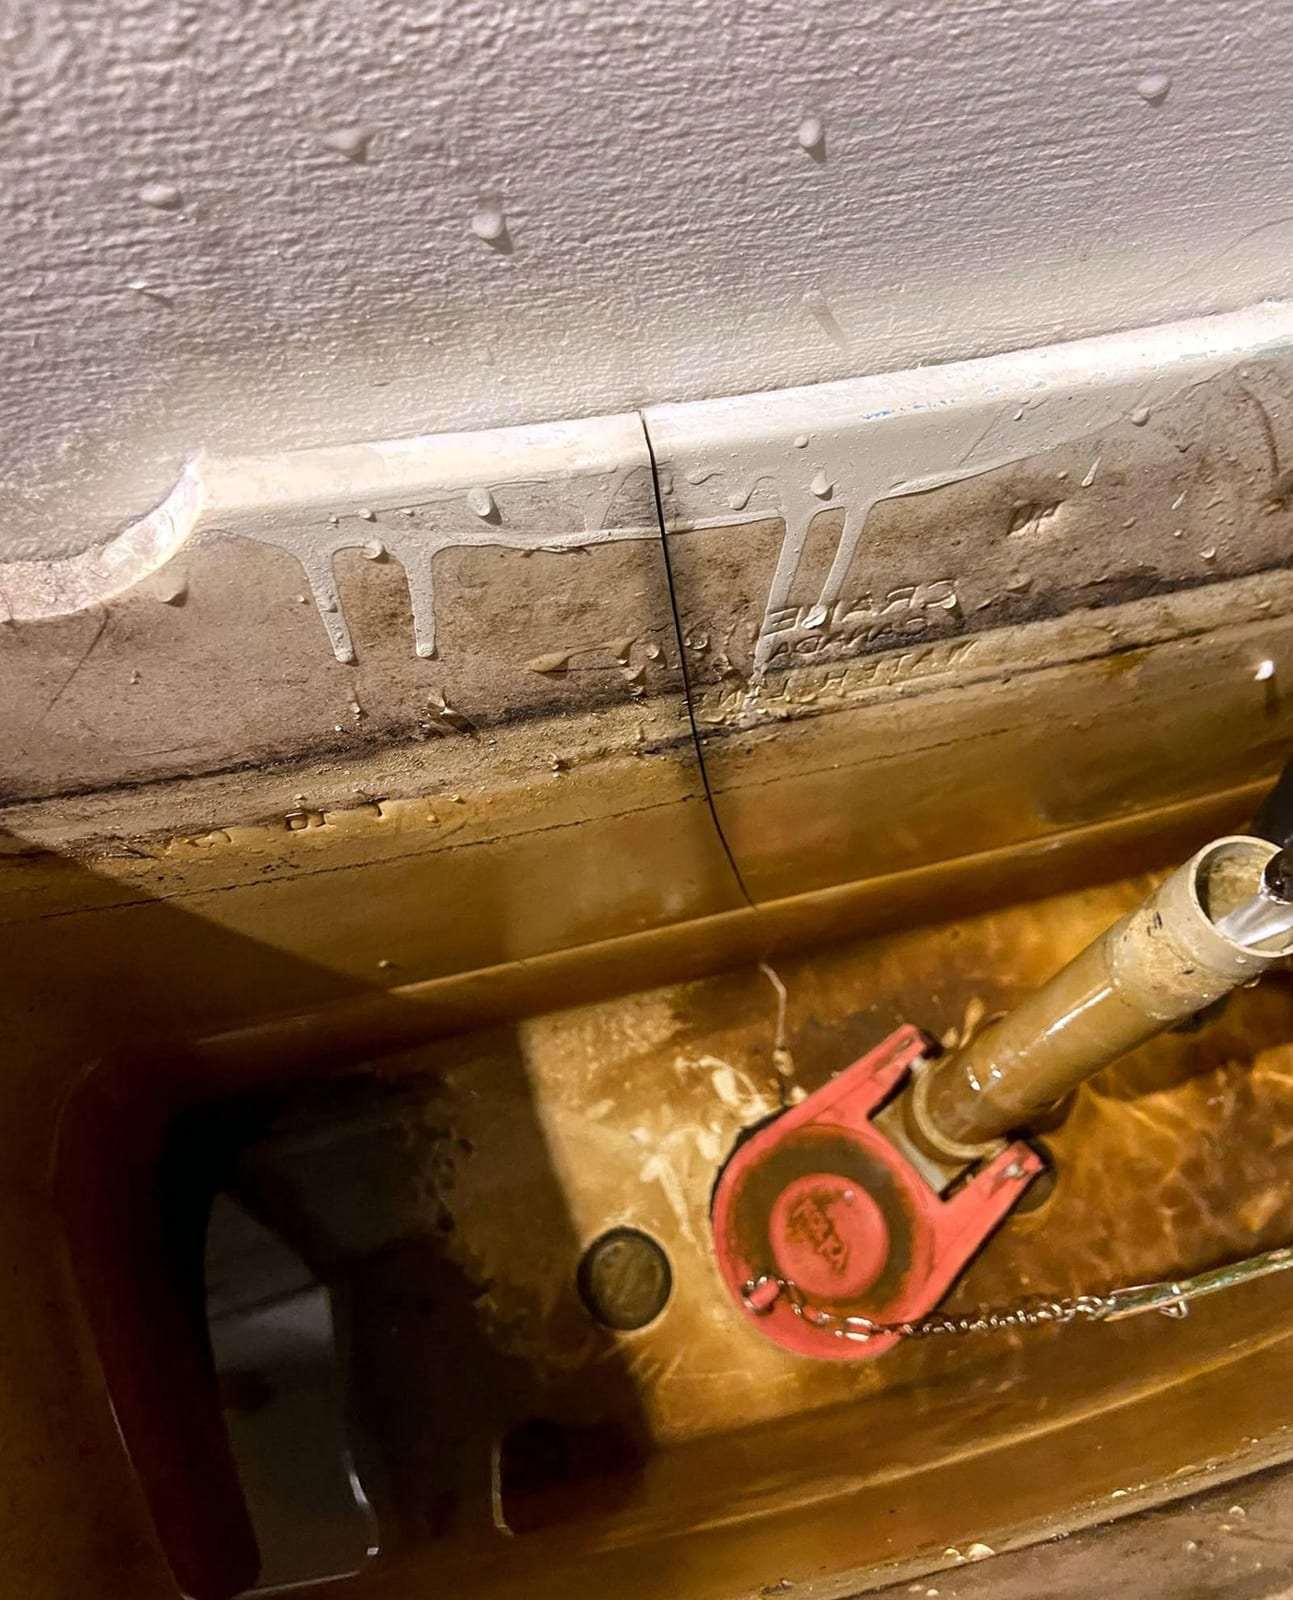
These five photographs show water damage work at its different stages. A hairline crack below the waterline of a toilet tank is the kind of slow leak that can soak a floor for weeks before anyone notices. A bathroom with the toilet pulled, wet towels on the tile and a water line on the wall shows the cleanup after an overflow. A room with its lower drywall cut away over a stained concrete floor, a hardwood hallway with tape marking where moisture was found, and a small bathroom with two air movers and a dehumidifier running show the removal and drying that follow.
Water damage restoration starts with stopping the source and removing standing water. Drywall that has wicked water up from the floor, as it does when a finished basement in one of Cincinnati’s hillside houses takes on water after heavy spring rain, is usually cut along a straight line a little above the highest wet point. The trade calls this a flood cut: it lets the wall cavity dry and exposes the insulation behind it. Air movers then push air across the wet surfaces while dehumidifiers pull the moisture out of the room, and the wet areas are measured at each check until the framing and subfloor are back to normal readings. Tape on a finished floor marks where moisture was found, so every check returns to the same spots.
Mold on the Back of Removed Drywall
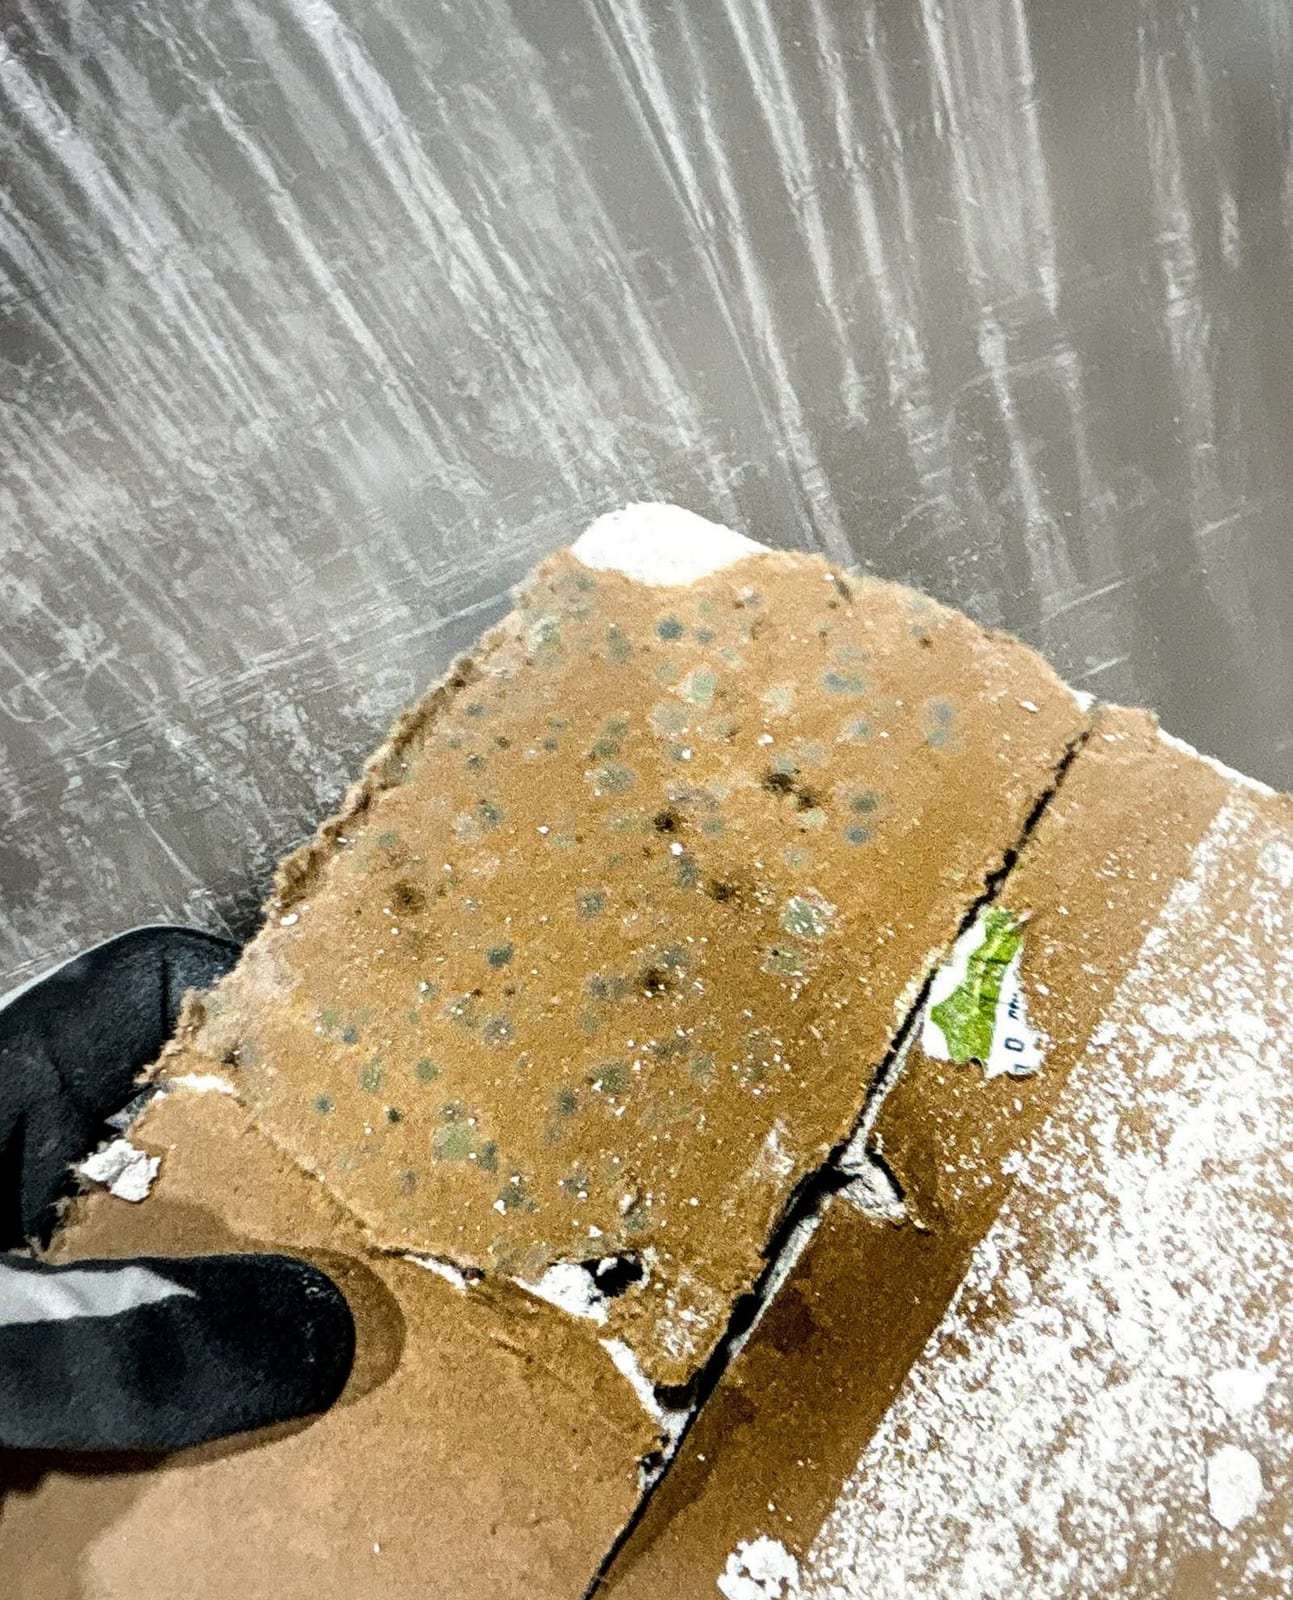
The photograph shows a gloved hand holding a piece of drywall taken out of a wall, its paper backing spotted with mold. Growth like this often sits on the cavity side of a wall while the painted face looks almost clean, which is why remediation so often means opening the wall instead of wiping the surface.
Mold remediation follows a set order in the trade. The work area is closed off with plastic sheeting so spores are not carried into clean rooms. Porous materials with growth on them, such as drywall, insulation and carpet pad, are bagged and removed, because the growth works into them and surface cleaning does not reach it. The framing behind is cleaned and dried, and the moisture that fed the growth is corrected; leaving out that last step is the usual reason mold comes back. When mold is suspected but cannot be seen, as with a musty smell in a closed basement room, a mold inspection is the place to start.
Walls and Ceilings Opened for Repair
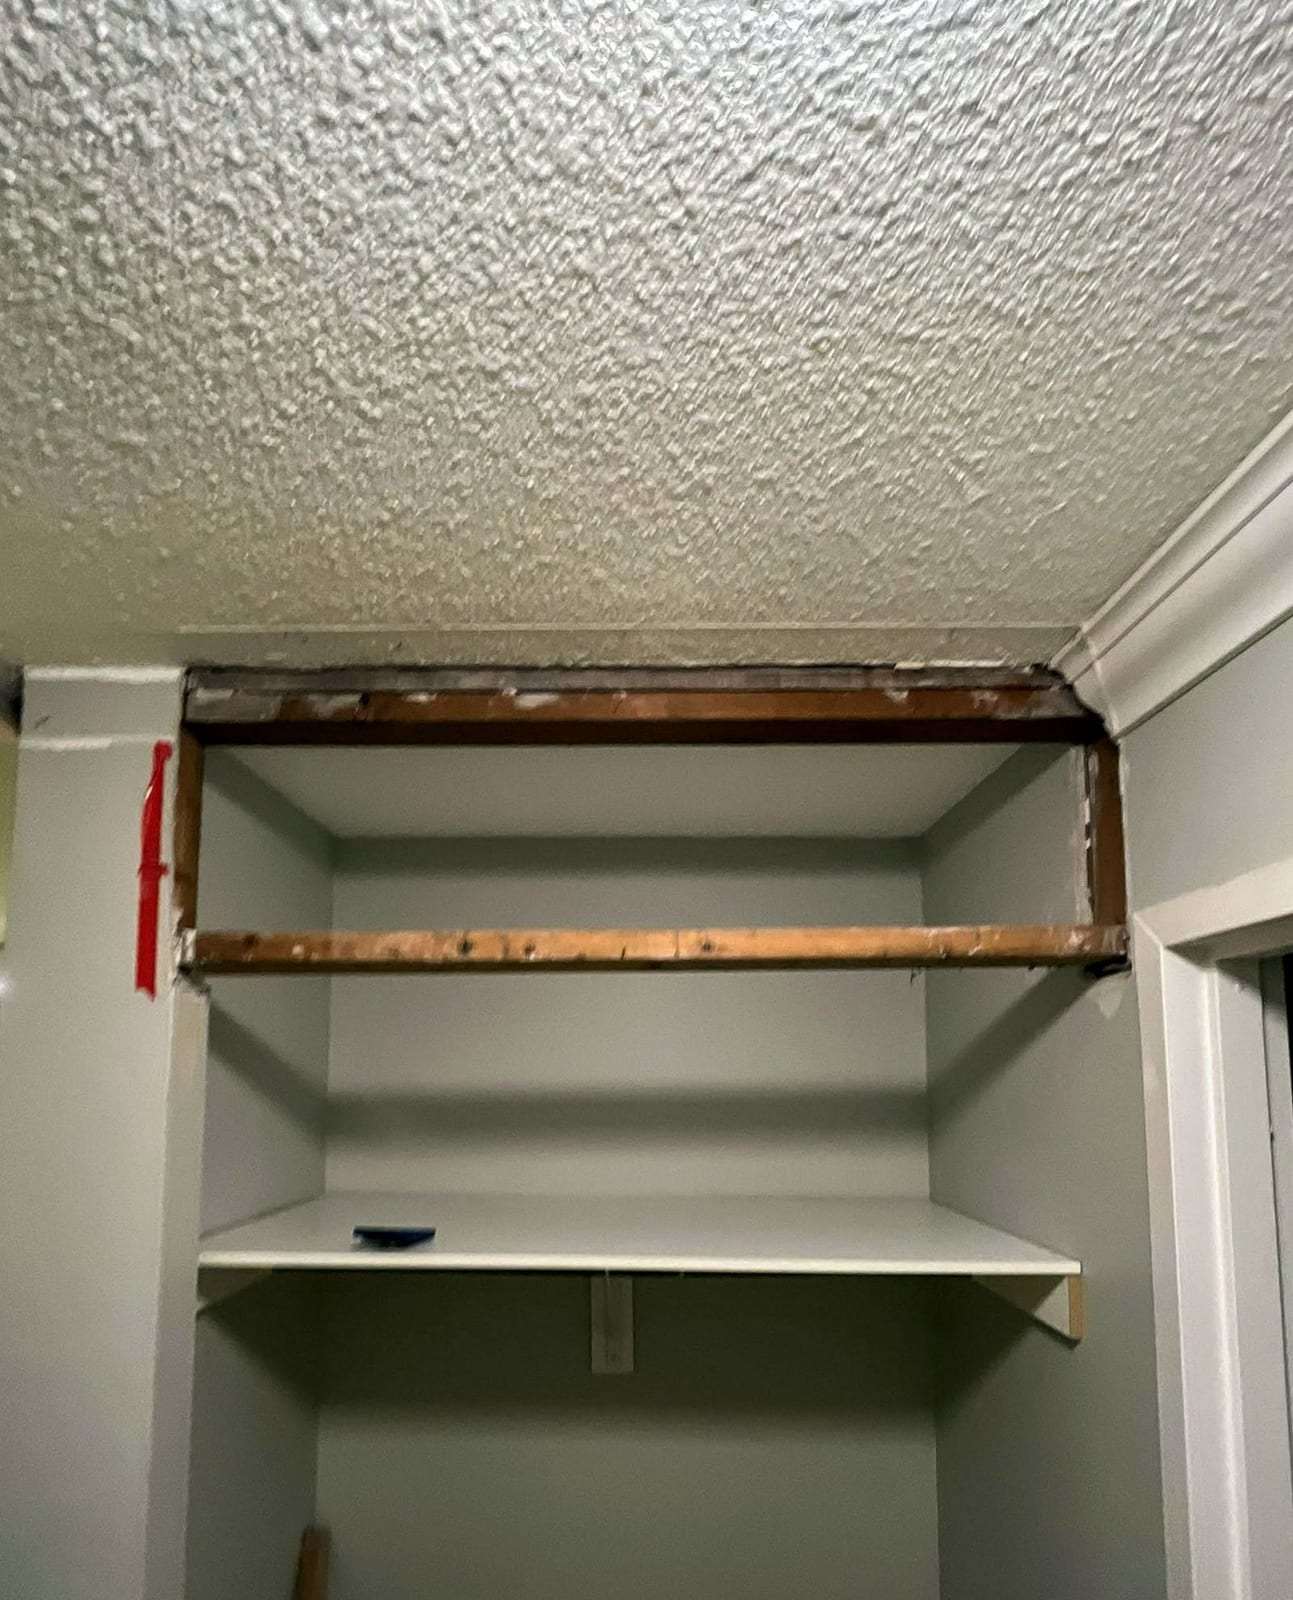
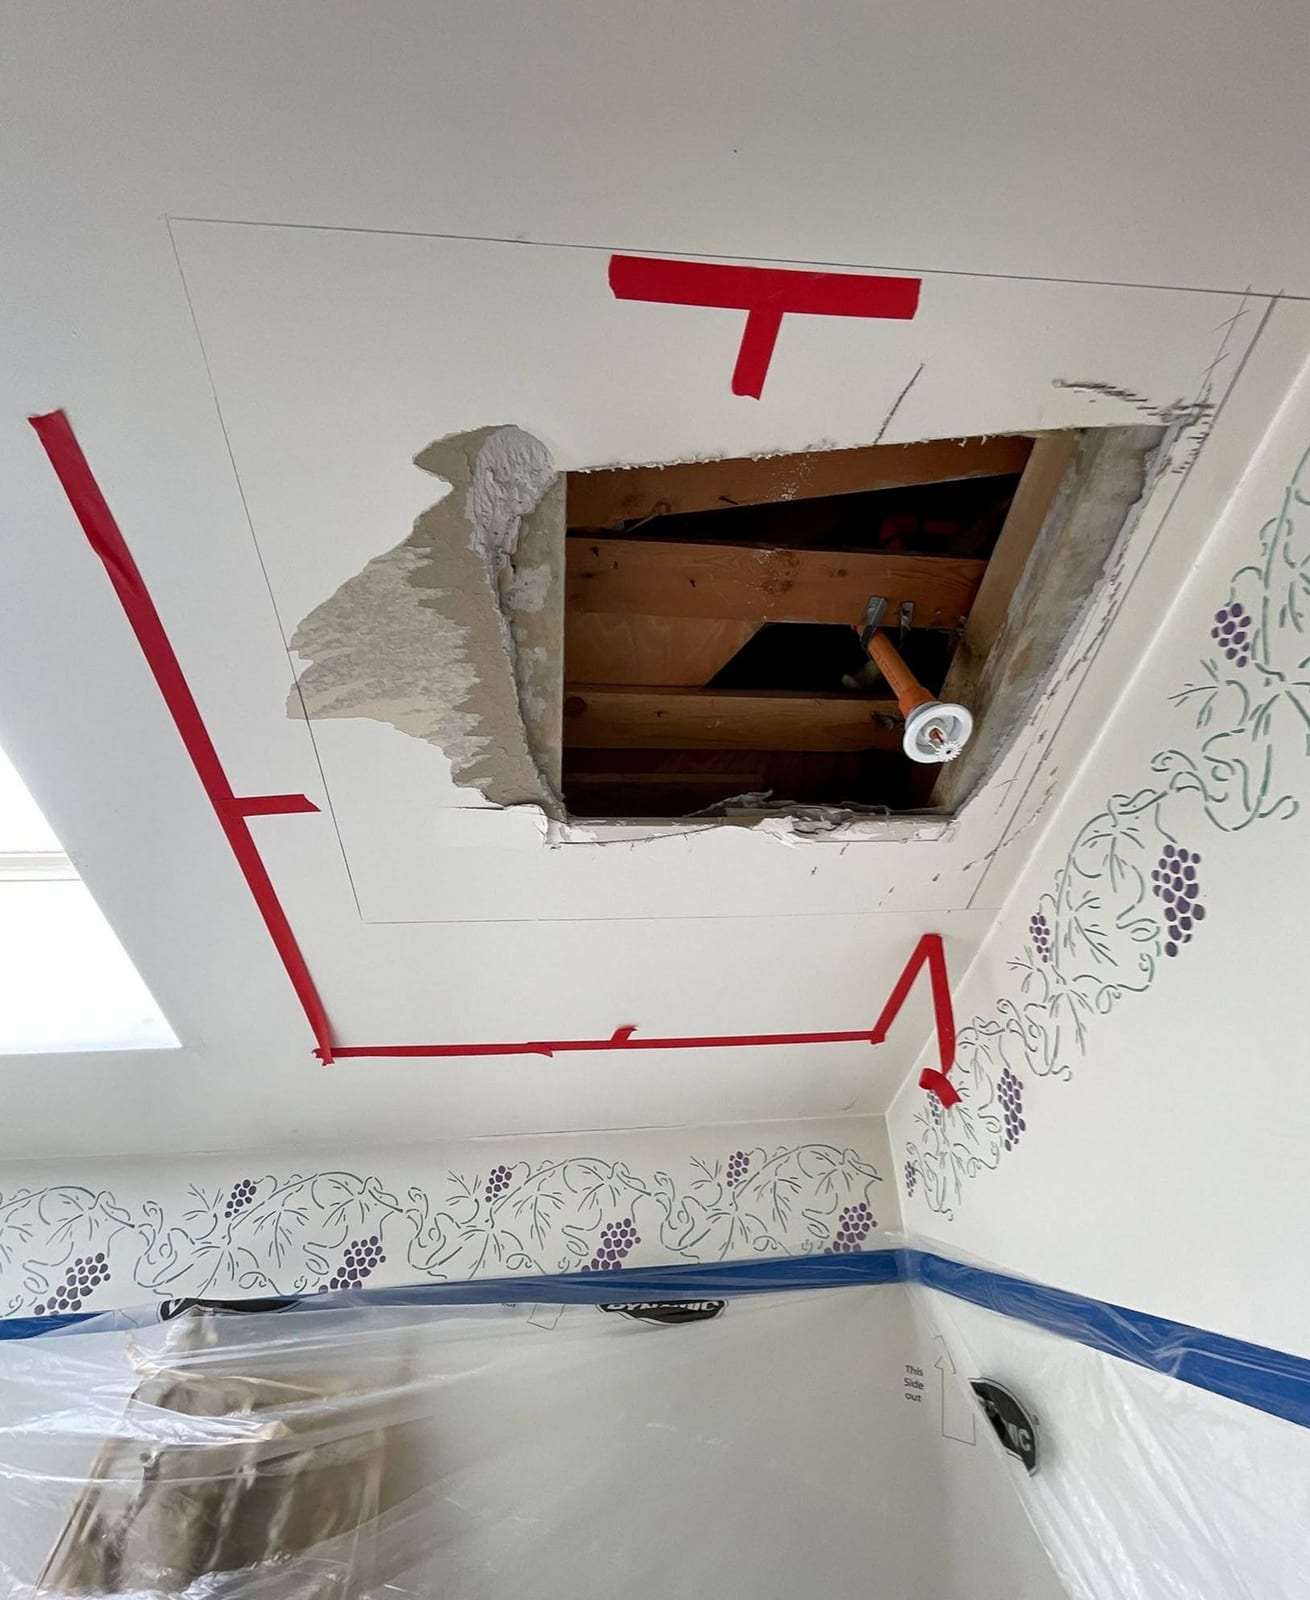
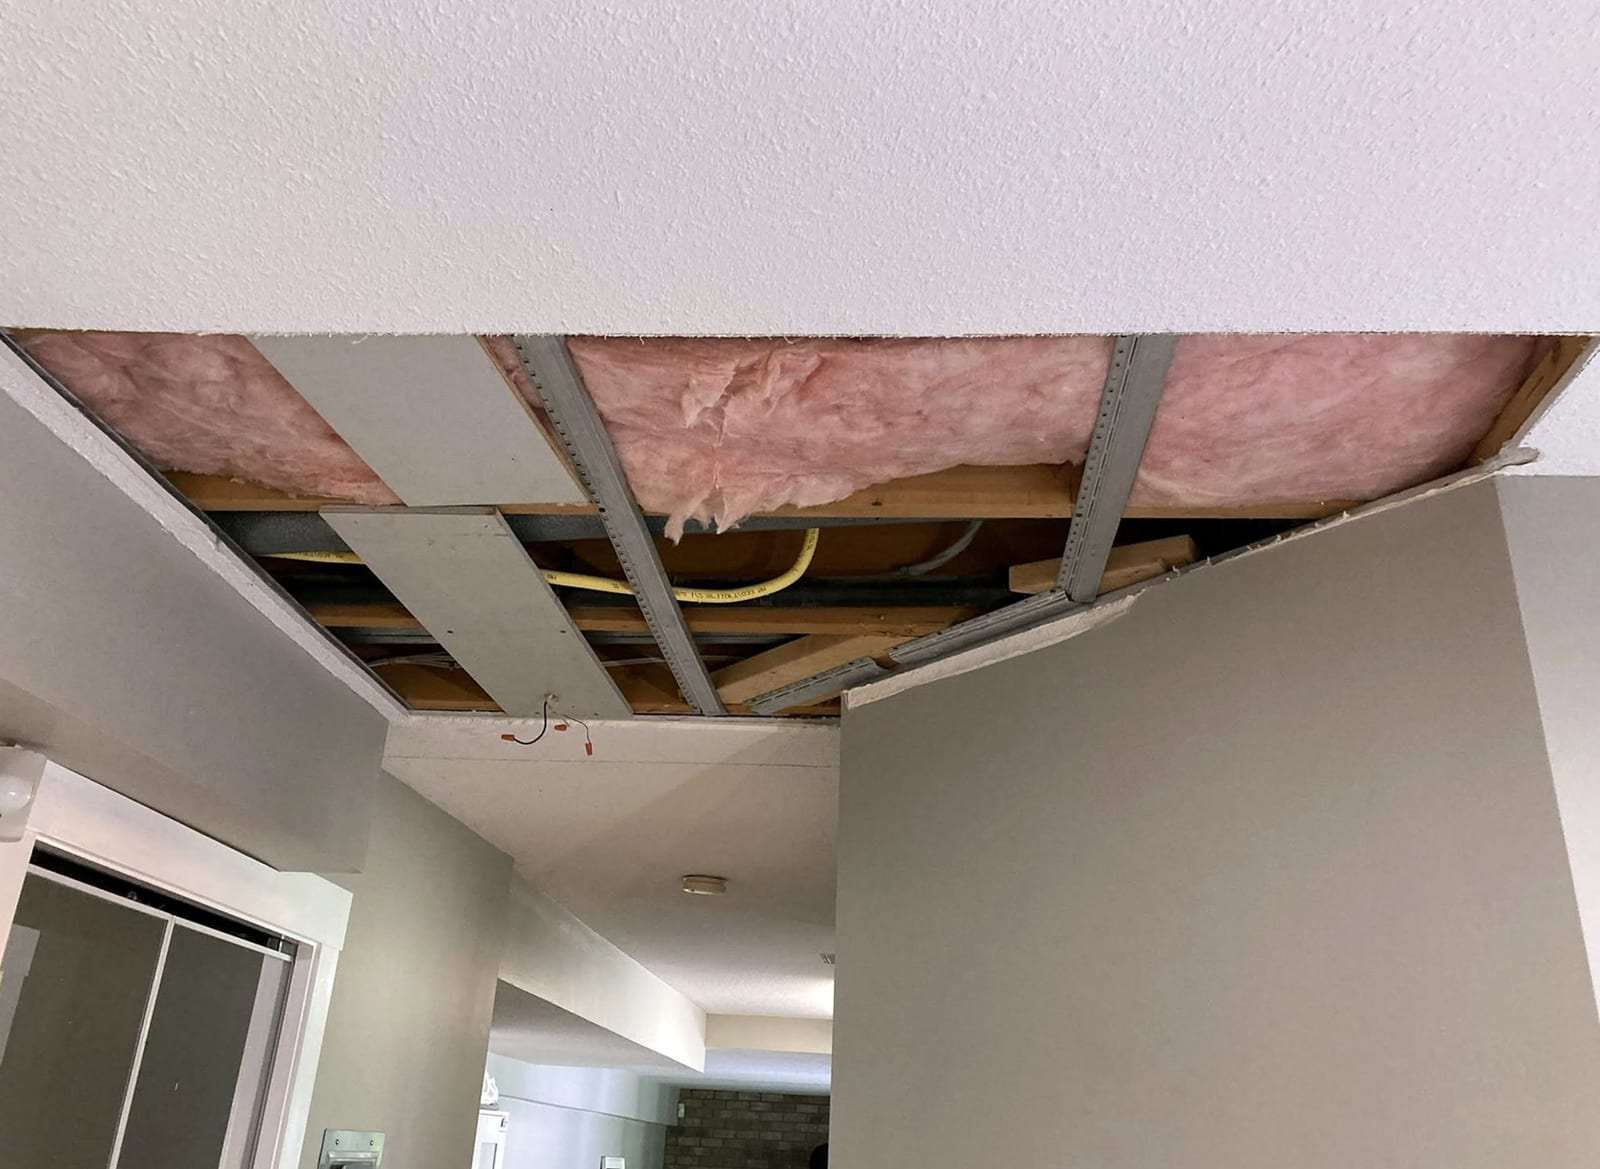
These three photographs show openings cut to reach a leak or to remove damaged material before repair: a closet with the drywall above the shelf cut away to the framing, a ceiling section cut out to the joists and a pipe, its outline marked in red tape, and a hallway ceiling opened between the joists, with insulation, metal channels and a gas line in view.
Openings like these are cut deliberately, in squares and rectangles, because a straight-edged opening takes a new piece of drywall, tape and joint compound far more cleanly than a ragged hole. Their size follows what lies behind the surface: enough room for a plumber to reach a fitting, enough for air to reach wet framing, and a careful margin around gas lines and wiring that run through the cavity. Before an opening is closed, the framing and the back of the surrounding drywall need to be dry, since a patch over damp wood can bring a stain back through fresh paint. The repair work that follows covers drywall, ceilings, subfloors, trim and repainting.
Wet Drywall and Insulation Replaced
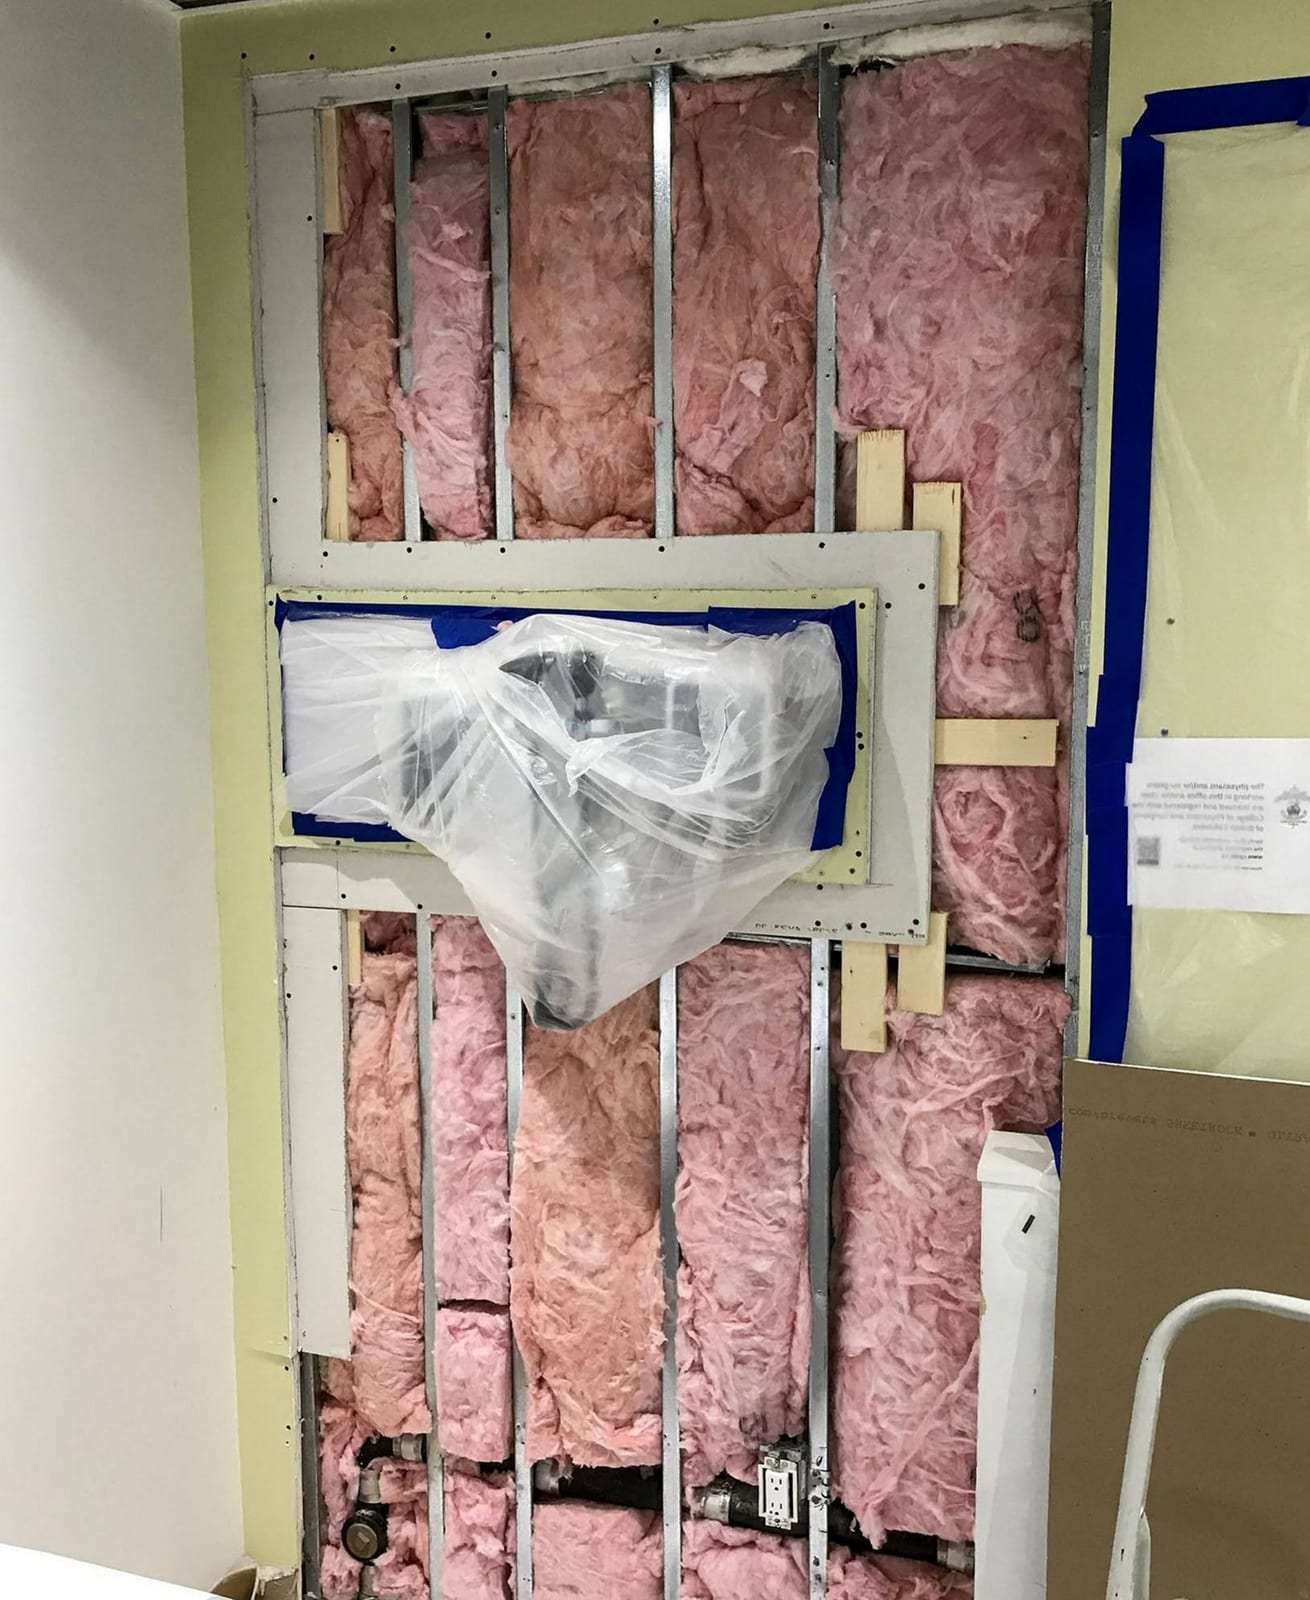
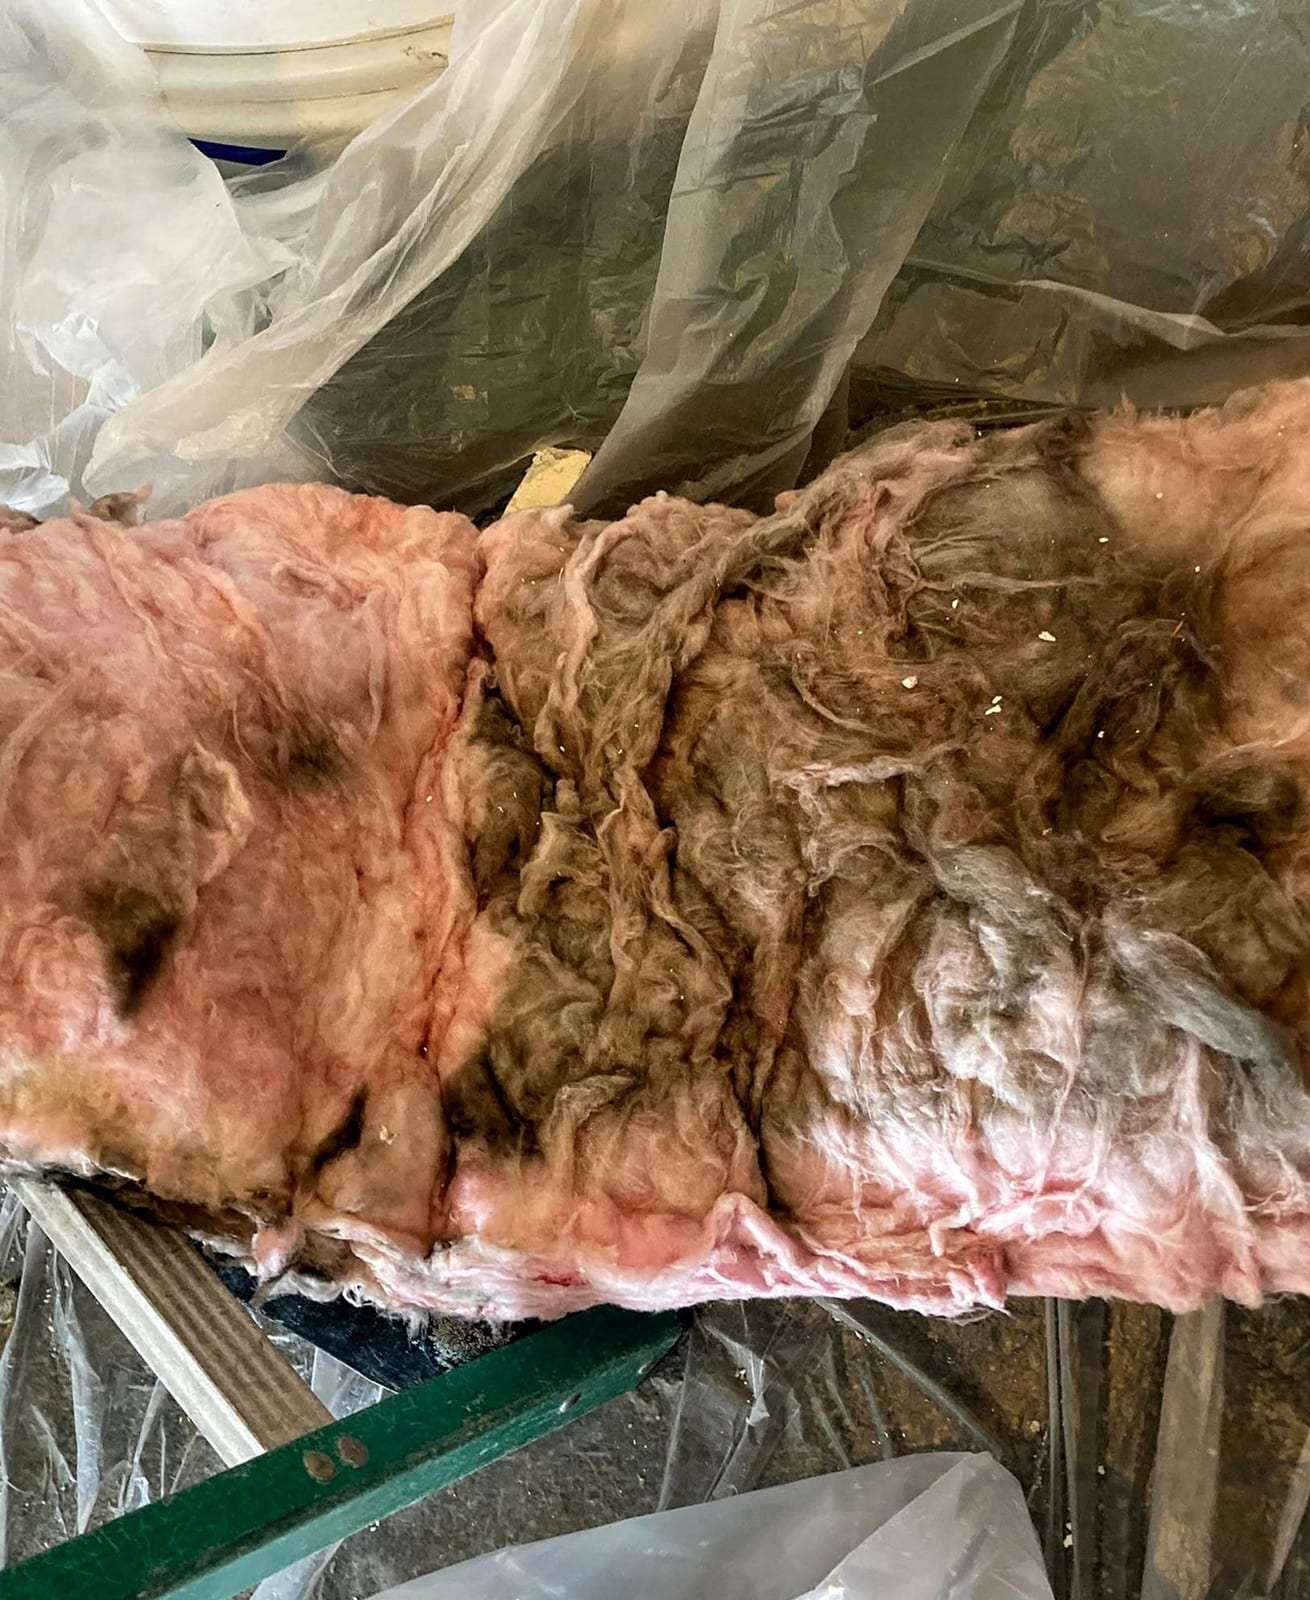
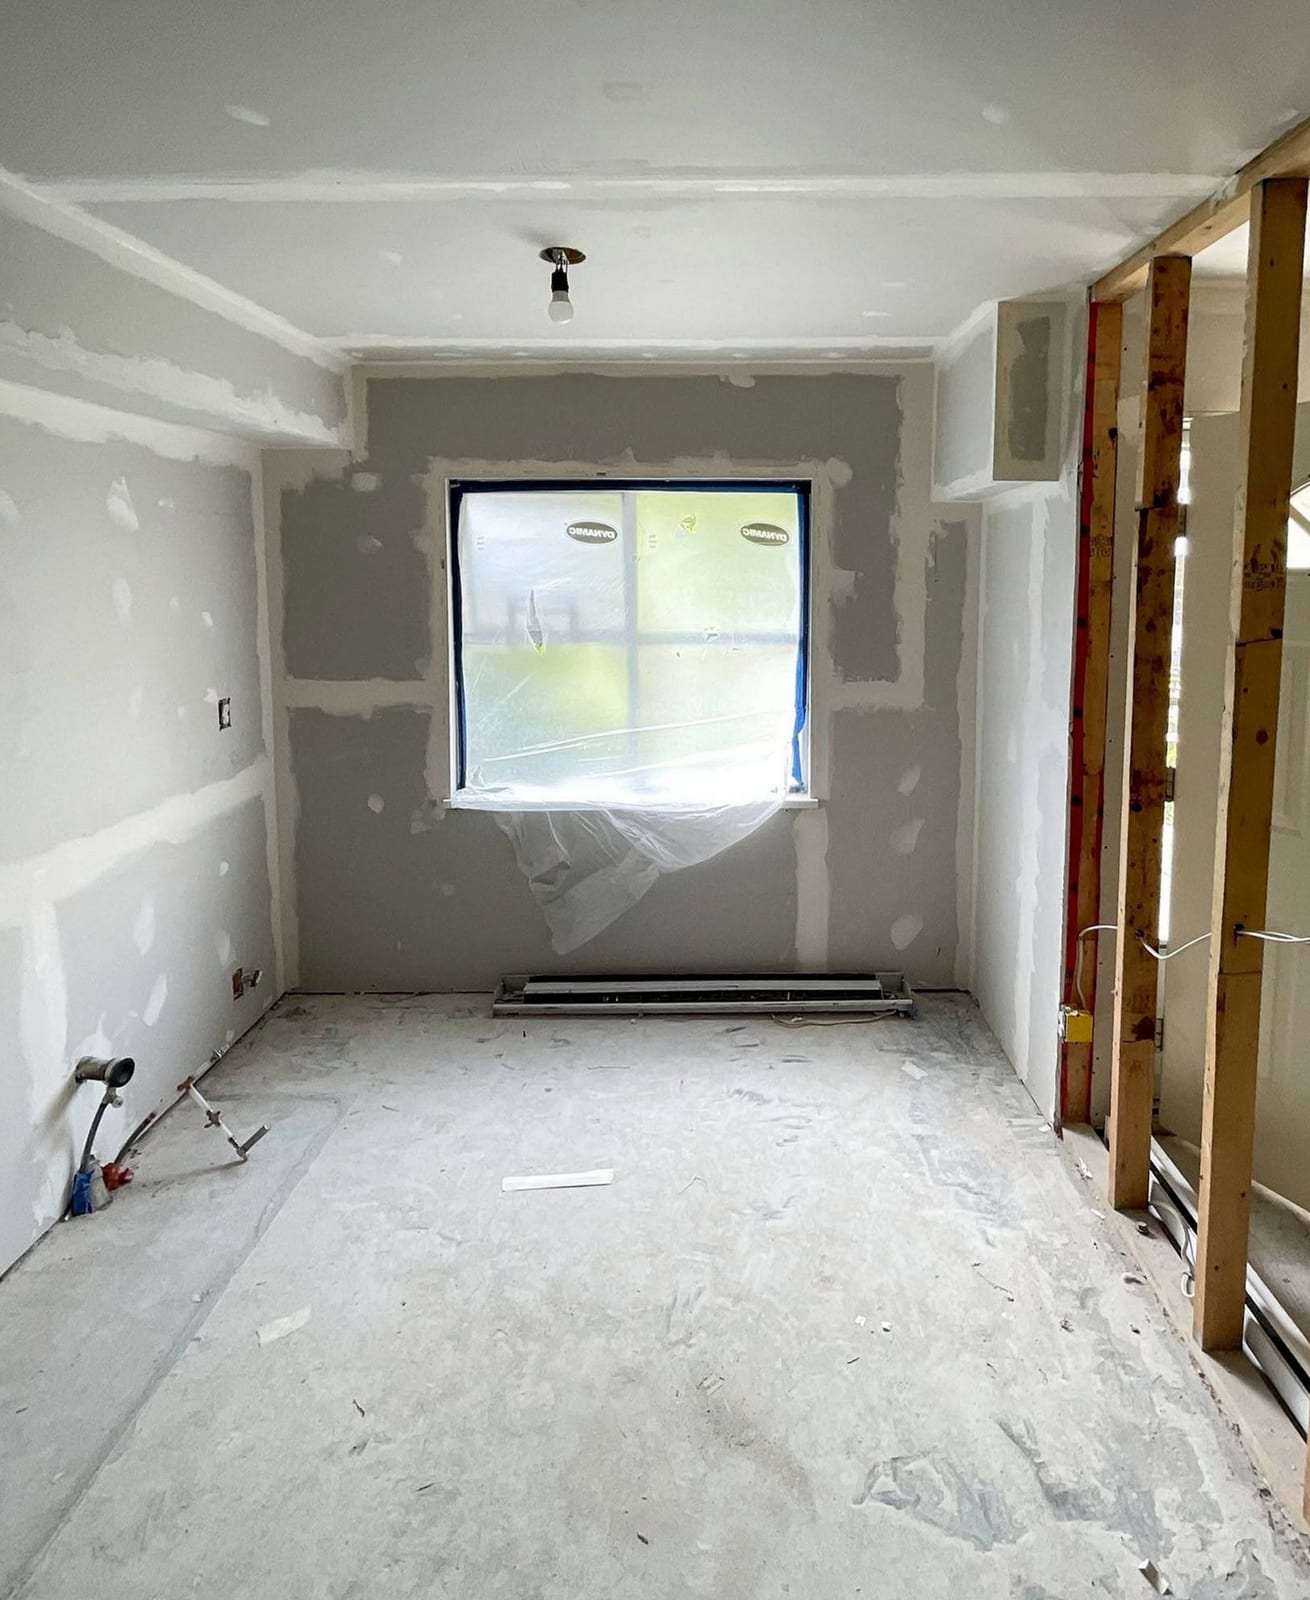
These photographs show wet materials coming out and new ones going in: a wall opened to steel studs and pink insulation, with a recessed cabinet wrapped in plastic; water-stained fiberglass insulation pulled from a wall and laid on plastic sheeting; and a bedroom with new drywall hung and taped while one wall is still open to the studs.
Fiberglass insulation that has soaked up water seldom recovers its loft, and stained batts hold moisture against the studs, so they are usually replaced rather than dried. Drywall that stayed wet for days, or was soaked by contaminated water, is treated the same way. Plastic over cabinets, fixtures and windows keeps demolition dust off whatever stays in the room. Once the framing is dry, new insulation goes in, and the drywall is hung, taped, finished and painted to match. Replacement work also takes in flooring, trim and protection such as sump pumps.
Similar Damage in a Home or Building
A leak, a wet wall or a stain like those in these photographs is best judged in person. Book an appointment to arrange a visit, or call to describe the damage first.